
How to Print Flower Mandalas at Home
Anuncios
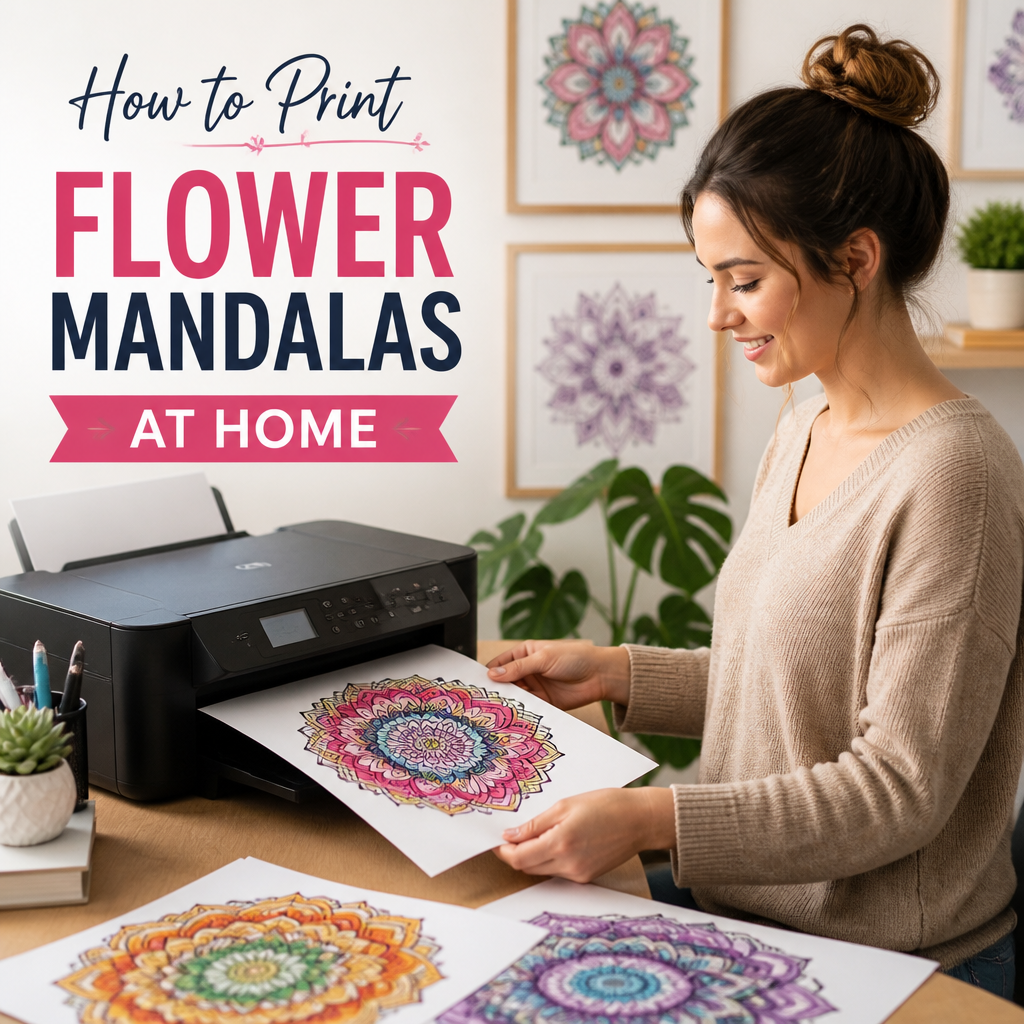
If you’ve ever wanted to unwind with beautiful art, flower mandalas are one of the easiest ways to bring calm into your day. The great news? You don’t need a print shop or special equipment to get started. With the right printable PDF, a few practical setup steps, and a bit of care, you can create crisp, satisfying results using home printing. In this tutorial, I’ll walk you through exactly how to print your own floral coloring pages at home—step by step.
Before You Start: What You Need
Before printing, gather the essentials so the process feels smooth from start to finish. Here’s a quick checklist.
- A computer or tablet (with a browser or PDF reader)
- A printer capable of printing on plain paper
- Ink or toner (check levels so you don’t run out mid-print)
- Paper: plain white printer paper is fine; thicker paper is even better for markers
- Your file: ideally a download mandalas option in PDF format
- Coloring tools you plan to use (colored pencils, gel pens, markers, etc.)
Also, confirm your page size preference. Many people search for A4 printables—so if you need A4, make sure your PDF matches (or can be scaled correctly).
Anuncios
Step 1: Choose the Right Flower Mandalas File
Start by selecting a design you’ll enjoy coloring. Look for files labeled as coloring templates, free printables, or “printable PDF.” The key is to ensure the pattern is clear enough for detailed coloring.
When browsing, pay attention to:
- Size: A4 vs. Letter (or both)
- Line thickness: thicker lines print more clearly on typical home printers
- Page count: confirm you’re downloading exactly what you need
- Download quality: higher-resolution PDFs usually produce sharper details
Anuncios
Tip: If you’re unsure about the quality, print one page as a test before committing to a full set.
Step 2: Download the Printable PDF Correctly
Once you find your flower mandalas collection, download the PDF to your device. A clean download matters because corrupted files can lead to missing pages or distorted formatting.
More Articles
 Mandalas for Kids
School Mandala Coloring Pages for Kids
School mandala coloring pages for kids can be a simple and creative resource for classrooms,...
Show More Flower & Nature Mandalas
Frequently Asked Questions About Flower Mandalas
Flower mandalas are more than pretty designs—they’re a calming way to slow down, focus your...
Show More- Click the download option (for example, “download mandalas”).
- Save the file to a known folder (like Downloads or Documents).
- Open the PDF in a viewer you trust (Adobe Reader, Preview on Mac, or a reliable browser PDF tool).
Tip: If you plan to print multiple designs, organize them first so you don’t waste time later.
Step 3: Check Page Size and Scaling Settings
This is where many people lose the best results. The goal is to print at the correct size without cutting off edges.
In your PDF viewer, look for print settings such as:
- Paper size: choose A4 if that’s what you want
- Scaling: select “Actual size” or “100%” (avoid “Fit to page” unless needed)
- Margins: make sure content isn’t pushed into non-printable areas
Tip: If you’re using standard A4 paper and the mandala looks slightly off-center in preview, do a quick test print and adjust scaling by small increments (like 95–105%) rather than making big jumps.
Step 4: Prepare Your Printer and Paper
Now you’ll set up your physical print environment so your lines come out clean.
- Load A4 paper in the tray
- Choose the correct paper type (plain paper is usually fine)
- Select print quality: “Normal” for speed, “High” if your printer supports it for sharper lines
- Check that the paper is aligned and not slightly tilted
Tip: If you plan to use markers or gel pens, consider slightly thicker paper. Thinner paper may bleed or wrinkle.
Step 5: Print a Test Page First
Before printing everything, do one test page. This step can save you from wasted paper and frustrating reprints—especially when using new settings or a new PDF.
- Select just one page from the PDF (if your menu allows it)
- Print using your chosen scaling and paper size
- Inspect the result for:
- Is the mandala fully visible (not cut off)?
- Are the lines crisp and dark enough?
- Is the size what you expected for A4 printables?
Tip: If the lines look too light, try a “Darker” or “High quality” print option. If details blur, ensure the printer isn’t set to draft mode.
Step 6: Print the Full Set of Floral Coloring Pages
Once your test page looks great, print the rest. You can print one sheet at a time or a set depending on your workflow.
For floral coloring pages, it’s often helpful to print in small batches so you can manage drying time and prevent smudging (especially with wet ink tools).
- Return to your PDF
- Choose all pages you want (or select a range)
- Print with the same settings you used for the test
Tip: If you’re creating a mini collection, label the pages after printing (e.g., “Mandala 1, 2, 3”) to keep your coloring templates organized.
Step 7: Make It Coloring-Friendly (Optional but Worth It)
Depending on your coloring style, you can improve the experience even more.
- If you use colored pencils: standard paper works well. Consider using a light layer first, then build color.
- If you use markers: try thicker paper or place a sheet underneath to reduce bleed-through.
- If you use gel pens: allow ink/toner to settle briefly before coloring to avoid smearing.
Tip: For extra neat results, use a light grip and color along the lines slowly—mandalas reward patience.
Common Errors to Avoid
Even simple home printing can go wrong. Here are the most common mistakes people make when printing flower mandalas from printable PDF files.
- Incorrect paper size: printing A4 content on Letter without scaling adjustments can cut off edges.
- Using “Fit to page”: this can stretch or shrink details, making the mandala look uneven.
- Skipping a test page: you may end up with blurry lines or clipped artwork.
- Poor printer settings: draft mode often reduces the clarity needed for detailed coloring.
- Low ink/toner: faded lines can make it hard to color neatly.
- Expecting bleed-proof performance: if you use markers on thin paper, you may get bleed-through.
Expected Result: What “Good Print” Looks Like
After following these steps, you should get a clean, centered mandala with crisp lines that are easy to color. Your final output should:
- Fit properly on your selected paper size (especially A4 printables)
- Show clear linework without major fading
- Be easy to distinguish between outer petals, inner shapes, and fine details
- Feel enjoyable to color—so you can focus on relaxation rather than fixing print issues
In other words, you’ll have exactly what many people look for when searching for free printables: beautiful floral coloring pages you can enjoy right away through home printing.
Conclusion
Printing flower mandalas at home is simple once you treat it like a small setup project: choose the right printable PDF, confirm A4 (or your preferred size), set scaling correctly, print a test page, and then run the full batch. With these steps, you’ll be able to enjoy gorgeous coloring templates—whether you’re working with download mandalas, free printables, or curated floral coloring pages designed specifically for comfortable coloring sessions.
Now pick your favorite design, hit print with confidence, and enjoy the calm that comes from coloring one petal, pattern, and circle at a time.